Window Flashing Tape Is Not One Universal Detail
Window openings are among the most vulnerable parts of the building envelope. Even when the wall field is protected by a water-resistive barrier, the transition between the window frame, rough opening, sheathing and WRB can become a weak point if the flashing detail is not properly designed.
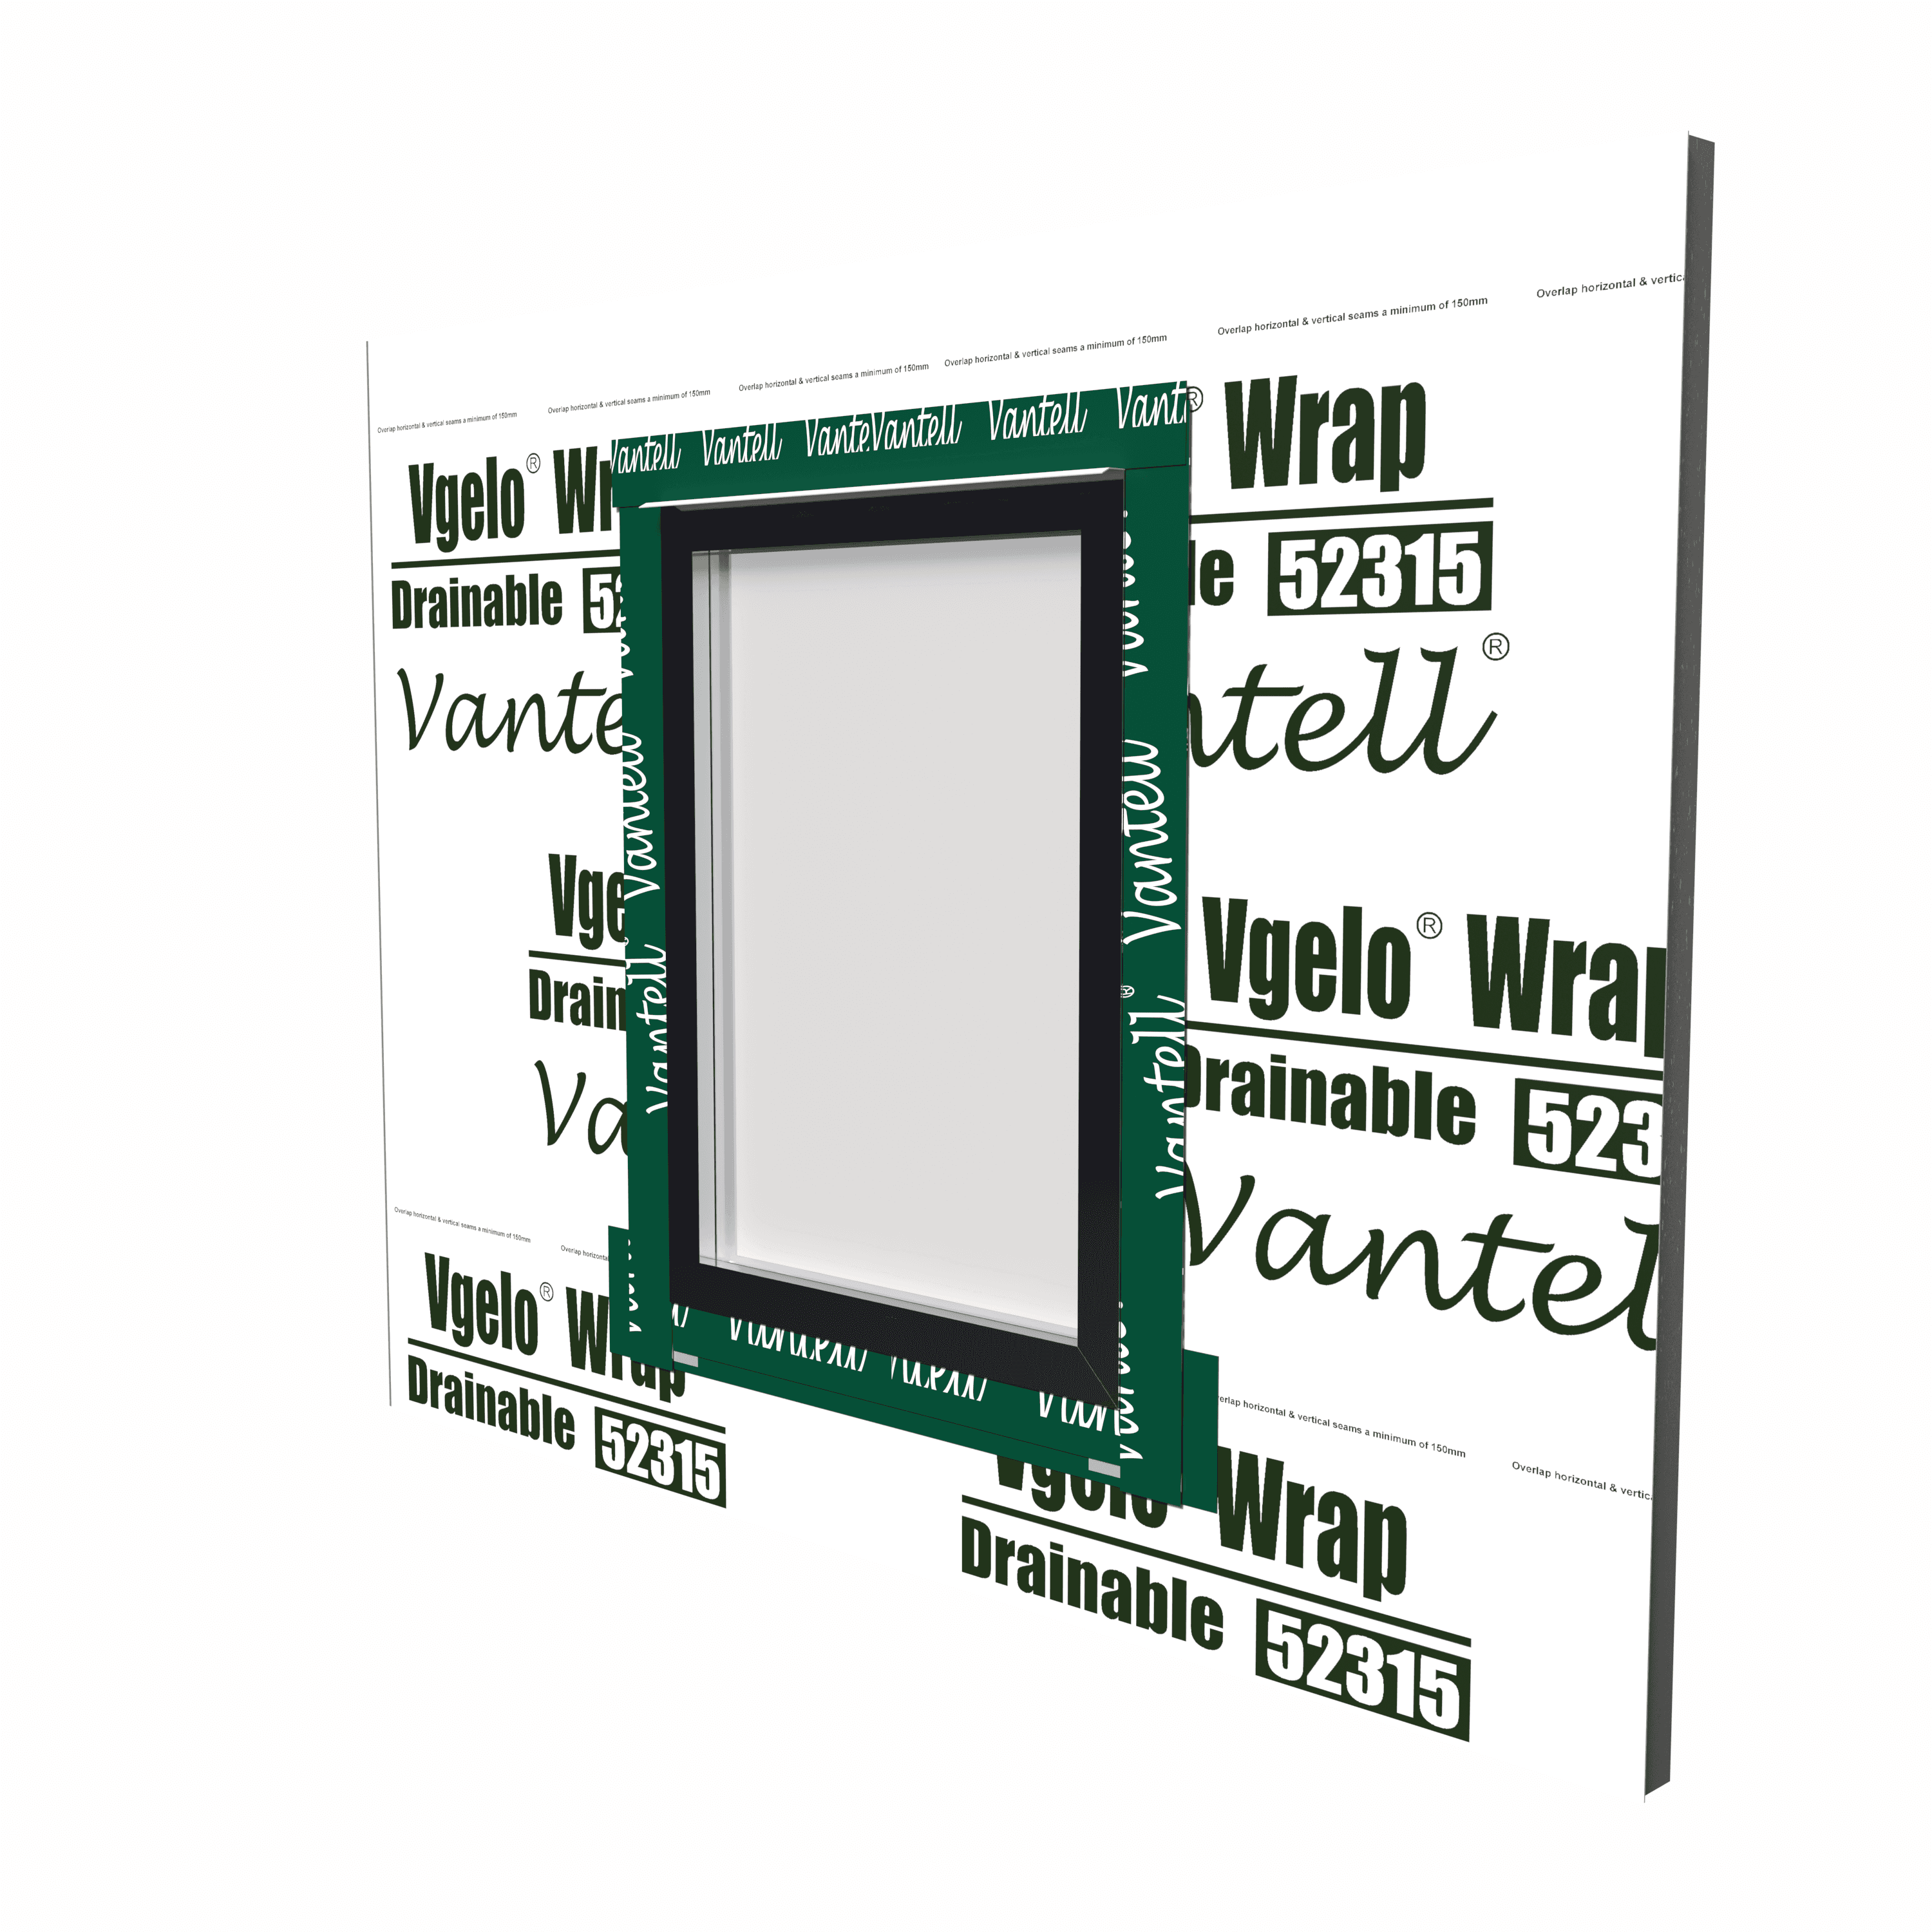
In many markets, window flashing is often shown using a North American-style flanged window detail. This is an important and widely used approach, but it is not the only window installation method. Different window types, frame profiles, wall structures and regional construction practices may require different flashing strategies.
The purpose of window flashing tape is not simply to follow one fixed installation sequence. Its real purpose is to help maintain continuity of the water-resistive layer, reduce water intrusion risk around the opening, and support a durable transition between the window and the surrounding wall assembly.
Core Principles Behind Window Opening Sealing
Although window details vary, most reliable flashing designs are based on the same core principles:
- Control water direction: flashing should help shed water outward and downward instead of trapping it inside the wall.
- Maintain WRB continuity: the water-resistive barrier should connect properly to the window opening detail.
- Protect the sill first: the sill area is often the highest-risk zone because water can collect at the bottom of the opening.
- Use shingle-style sequencing where applicable: upper layers should generally lap over lower layers to support drainage.
- Allow appropriate drying: the flashing approach should consider vapor movement, drainage path and the drying potential of the wall.
- Match the window system: flanged windows, non-flanged windows, recessed windows and commercial façade openings may need different details.
Why North American Flanged Window Details Are Common
In North American light-frame construction, many windows include an integral mounting flange or nailing fin. This flange creates a clear plane where flashing tape can bridge the window frame to the surrounding WRB or sheathing surface.
For this type of window, the flashing sequence often includes sill flashing, jamb flashing and head flashing. The goal is to integrate the window flange with the WRB so that incidental water is directed outward rather than into the wall cavity.
This method is practical for many wood-frame and sheathing-based wall systems, but it should not be treated as the only correct method for every region or every window product.
Different Window Types Require Different Flashing Strategies
1. Flanged or Nailing-Fin Windows
Flanged windows provide a relatively clear exterior sealing surface. Flashing tape is commonly used to seal the flange to the WRB or sheathing. The sill area is usually detailed first, followed by the sides and then the head, depending on the project specification and window manufacturer instructions.
This type of detail is often used with housewrap / WRB, drainable housewrap, self-adhered WRB and sheathing-based wall assemblies.
2. Non-Flanged Windows
Non-flanged windows do not provide the same exterior nailing-fin surface. These systems may rely more heavily on perimeter sealant joints, backer rod, interior air sealing, exterior flashing membranes, metal flashing or pre-formed sill pans.
For non-flanged windows, flashing tape may still be used around the rough opening, but the tape location and connection method may differ. The design should consider where the water-control layer is located and how the window frame connects to that layer.
3. Recessed or Deep-Set Windows
In some wall assemblies, windows are recessed within a thicker wall section. This creates deeper return surfaces and more complex corners. Flashing tape must be selected and installed to handle inside corners, outside corners and changes in plane.
Flexible or conformable flashing tapes can be useful where the detail includes complex geometry, but the final design should still provide a clear drainage path.
4. Aluminum, PVC, Wood and Composite Window Frames
Window frame material can influence flashing design. Aluminum frames may have different thermal movement and surface characteristics compared with PVC, wood or composite frames. Surface preparation, adhesion compatibility and primer requirements should be reviewed before installation.
A flashing tape that performs well on sheathing may not automatically bond the same way to every frame material or coating. Adhesion should always be checked against the actual project substrate.
5. Commercial Openings and Façade Systems
Commercial window and façade systems are often detailed differently from residential flanged windows. These assemblies may involve metal framing, air barriers, sealants, membranes, sub-sills and pressure-equalized drainage paths.
In these applications, flashing tape is often one part of a larger transition system rather than the entire sealing solution. Coordination with the façade system, air barrier design and project specification is especially important.
How Flashing Tape Supports WRB Continuity
The WRB protects the wall field, but the wall field is interrupted at every window and door opening. Flashing tape helps bridge this interruption by connecting the window opening detail back to the surrounding water-resistive layer.
When used with housewrap or drainable housewrap, flashing tape can help create a more continuous water-control plane around the opening. This is especially important in rainy climates, high-humidity regions, coastal environments and wall assemblies where water may collect behind cladding.
In many cases, the best flashing design is not only about sealing the window frame. It is about connecting the window, WRB, sheathing and drainage path into one coordinated system. For more background on wall drainage and moisture movement, see How Capillary Action Affects the Building Envelope.
Butyl and Acrylic Flashing Tapes May Serve Different Needs
Different flashing tapes are used for different installation conditions. Butyl-based tapes are often valued for conformability, waterproofing and sealing around complex details. Acrylic-based tapes may be selected for certain membrane transitions, clean handling or specific adhesion requirements.
For exterior window details, vapor-open or breathable flashing approaches may be preferred in some wall designs to support outward drying. For interior air and vapor control, a different tape may be used to support airtightness and vapor-control continuity.
This is why a complete window opening strategy may include more than one tape type depending on exterior, interior and substrate conditions.
Practical Design Questions Before Selecting a Flashing Detail
- Is the window flanged, non-flanged, recessed or part of a commercial façade system?
- Where is the primary water-control layer located?
- Is the wall using standard housewrap, drainable housewrap, self-adhered WRB or another membrane?
- Does the opening require a sill pan or additional sill protection?
- Should the exterior side allow drying while the interior side supports air and vapor control?
- What substrates will the tape bond to: OSB, plywood, gypsum sheathing, aluminum, PVC, coated metal or membrane?
- Are there local code, climate or manufacturer requirements that affect the final detail?
Vantell Window Flashing Tape Solutions
Vantell provides flashing and sealing tape solutions for different window opening conditions, including exterior flashing, interior vapor-control connections, breathable flashing transitions and butyl-based sealing applications.
For window opening protection, VWFAXW Window Sealing Tape can support rough-opening sealing and WRB-to-frame transitions. For exterior details, VWFHYP Exterior Butyl Tape and VWFAHP Exterior Acrylic Tape can be considered depending on the wall assembly and substrate requirements.
For interior air and vapor-control transitions, VWFAYP Interior Butyl Tape and VWFAIB Interior Acrylic Tape may be used as part of a coordinated window sealing strategy.
These products should be selected according to the window system, wall assembly, substrate, exposure condition and project requirements.
Related Vantell Products and Resources
- VWFAXW Window Sealing Tape
- VWFHYP Exterior Butyl Tape
- VWFAYP Interior Butyl Tape
- VWFAIB Interior Acrylic Tape
- VWFAHP Exterior Acrylic Tape
- Vgelo Wrap Drainable Housewrap VWD52315
- Reference Standards Behind Vantell Building Envelope Product Development
Conclusion
Window flashing tape should not be understood as a single fixed installation method. A North American flanged-window detail is one important example, but other window systems may require different approaches.
The best flashing strategy starts with the same principles: manage water direction, maintain WRB continuity, protect the sill, support drying and match the detail to the actual window and wall assembly. When these principles are followed, flashing tape becomes a key part of a more durable and reliable building envelope system.
Note: This article provides general design guidance only. Final installation details should follow local building codes, project specifications, project designers' requirements and the window manufacturer's installation instructions. Product selection and substrate compatibility should be confirmed before installation.